Carving Caricature Heads & Faces
by W. “Pete” LeClair
A Book Review


“Carving Caricature Heads & Faces” is another one of three excellent woodcarving books written by noted wood carver and instructor Pete LeClair. Published in 1995 by Schiffer Publishing, Ltd., this 64 page full-color book Shows you everything you need to know about how to carve caricature heads and faces. With accurately captioned color photographs Pete takes you step-by-step from start to finish through the process of carving a caricature head, including the painting steps to create your own comical bottle stopper.
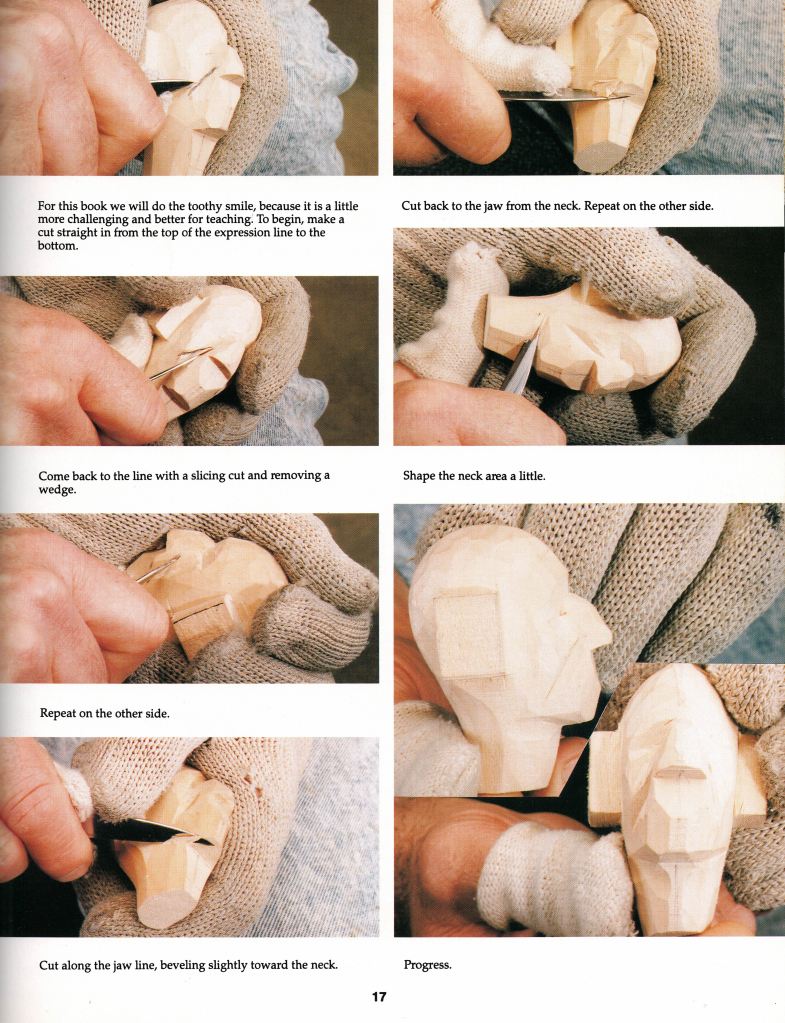
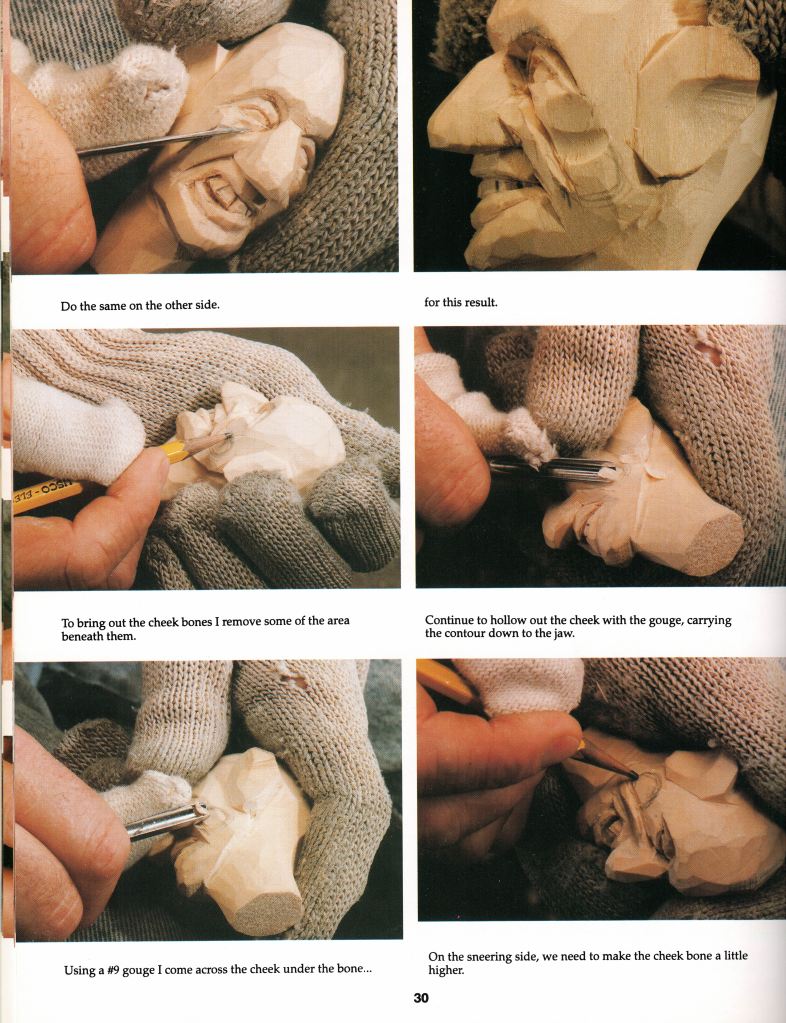
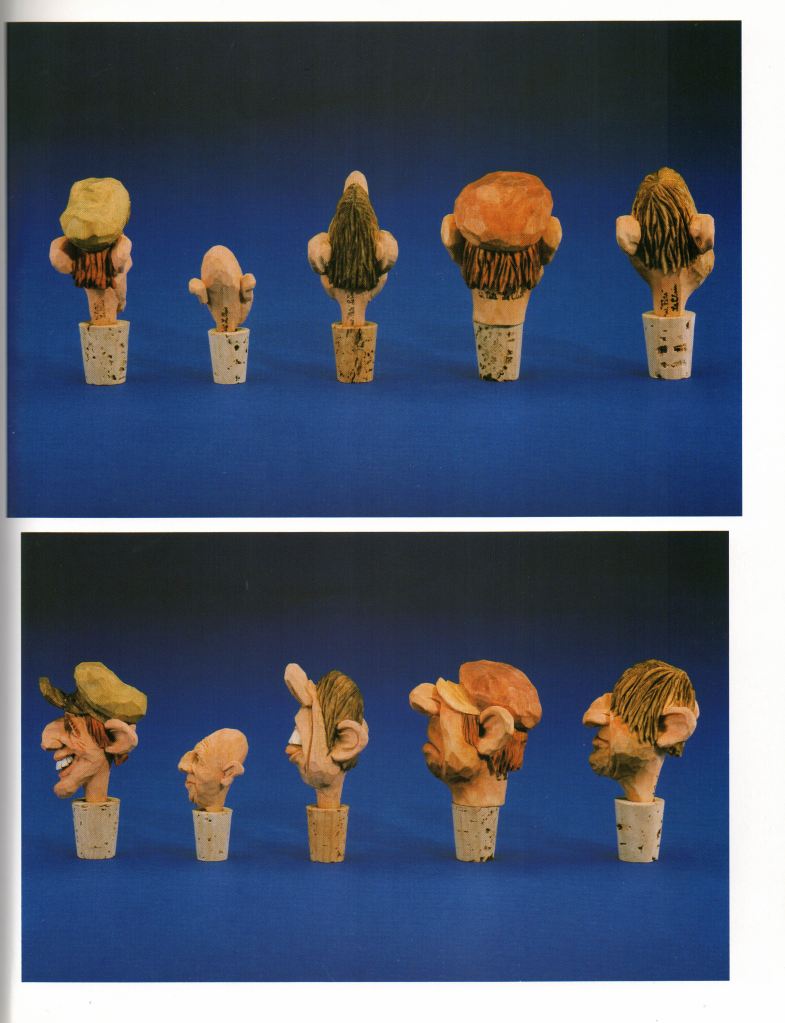
“Carving Caricature Heads & Faces” gets right into the meat of the carving right from the first page, although I see that as a plus and a minus at the same time. While the entire book is dedicated to carving, painting and finishing a bottle stopper project, no time is spent on topics such as wood, tools and safety the way most carving books do. I found the cover of the book is a little misleading when it states there are “33 Caricatures with Step-by-step Carving Instructions.” There are around 33 examples of caricature head bottle stoppers, most with 4 views, however, there are step-by-step instructions for carving only one of them.

In all, I found “Carving Caricature Heads & Faces” to be an excellent instructional book. With Pete’s simple carving style and easy to follow instructions anyone can be carving caricature heads and faces in no time at all! The book is available through most woodcarving suppliers.
Pete LeClair lives in Fitchburg, Massachusetts. He is a nationally recognized wood carver who teaches carving around the country and is a member of several carving clubs throughout New England, including the prestigious Caricature Carvers of America. Pete is one of my favorite carvers. I like his carving style and have adapted much of it into my own way of carving.
Questions & Comments

This week we heard from Rick with a question about using spray finishes over walnut oil. Rick writes:
“Hi Bob,
After you coat a carving in walnut oil and paint, do you ever spray a finish over that? I have tried spraying a Krylon matt finish the n several and it looks perfect at first but after a few weeks the carvings I have done with oil start developing some areas that are shiny. I attached a picture where you can see some streaks of this on the brown leg. Is there a better way to finish over the oil? I like the spray type finishes since they are something you don’t have to redo again later and should seal it off well. I know people spray finishes like this over BLO so I assumed it might work ok, but maybe this is showing me there is some reaction going on or the oil is trying to come through the finish. I greatly appreciate any insight you might have. Hope you are having a great summer !
Rick Carver”
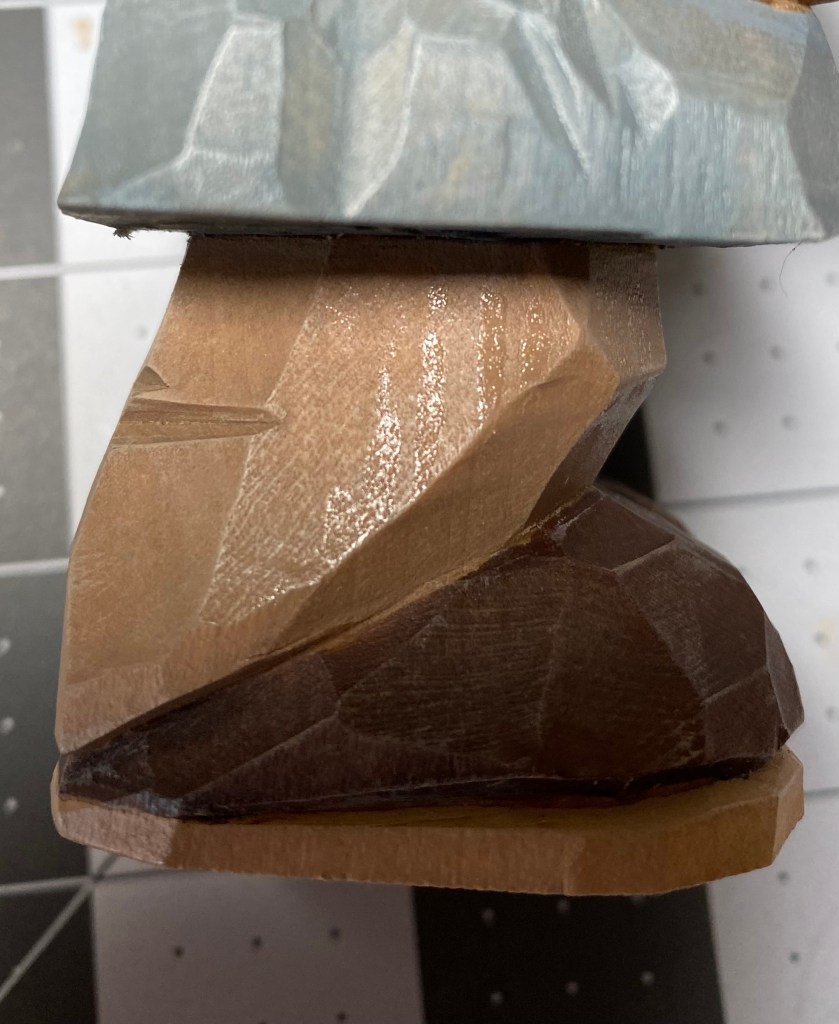
Walnut oil takes a long time to dry…much longer than boiled linseed oil. From what I can see in your photo it appears that the oil is bleeding through the finish because it is not dry yet.
This is how I finish my carvings: 1) Apply a coat of walnut oil and allow to dry overnight, 2) Paint your carving and allow the paint to dry completely, 3) Apply a coat of Krylon clear matte acrylic spray and allow to dry for 2 hours, 4) Apply a coat of Howard FEED N WAX. Let dry for 20 minutes. Then buff with a soft cloth and a horsehair shoe brush. I’ve never noticed any problems with this technique.
I suggest giving your carving a coat of Howard FEED N WAX as in my Step 4. That may solve your problem. I hope this helps, but let me know how it works. Now a question for you: Are you seeing this problem on other carvings or just this one?
Carver’s Corner
“Carver’s Corner” is the section where you can send in photos of your carvings to have them critiqued by me and get my truthful opinions on what you did right and where you might improve next time. It’s an excellent opportunity to improve your carving skills! Send your photos to carverbobk@woodchipchatter.com.
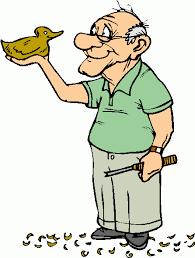
We received entries from John Robinson this week of three excellent carvings he did of a caricature horse, and two hummingbirds. John wrote in and said:
“Put these in Carver’s Corner I would hate to see a great thing end. Thank you Bob K.”
Thank you so much for contributing to the “Carver’s Corner”, John. I greatly appreciate any photos I can get from my readers. John’s first entry is a very well carved and comical caricature horse.

That’s a magnificent job you did on the horse, John! Extremely well carved and very well painted. You actually got the paint job to look like real horse hair and the anatomy is quite accurate. I also like the added scenery which makes a huge difference to the overall look of the carving.
A little while back I did a segment on “How to make dirt.” I like the way yours turned out. Perhaps you can tell us how you made yours.
The hillbilly scene in the background came out good too. I like all of the accessories you added to make the scene look real there. I would go lighter on the paint next time, like you did on the horse, and work on adding a little more detail to your caricatures in the future.
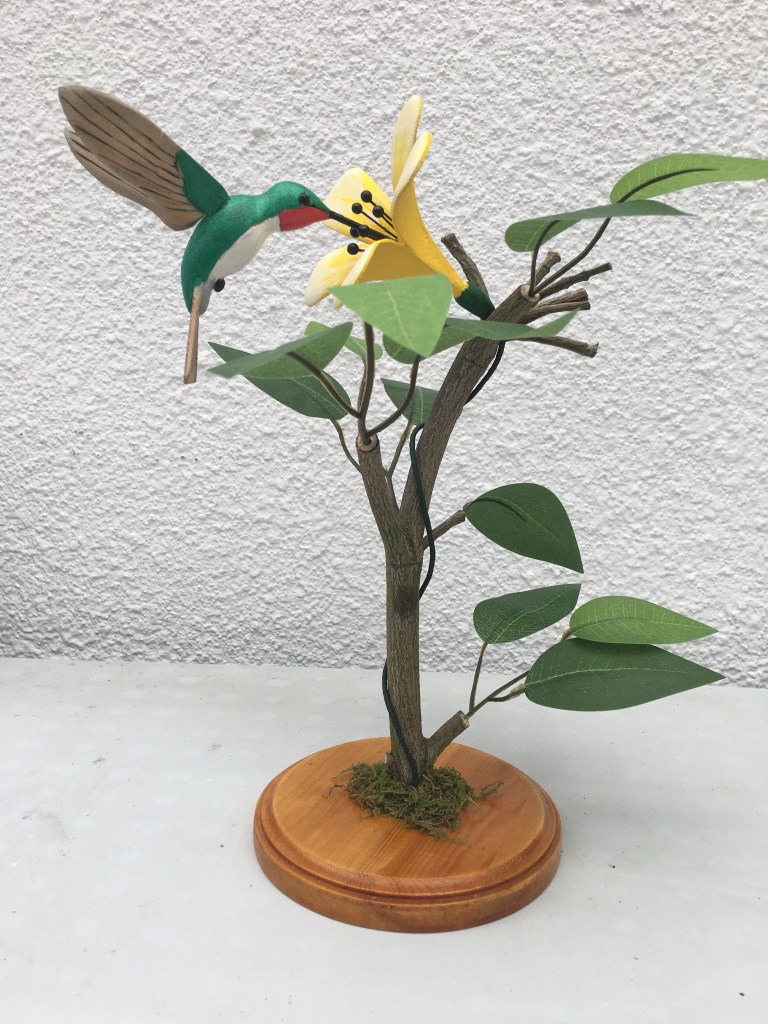
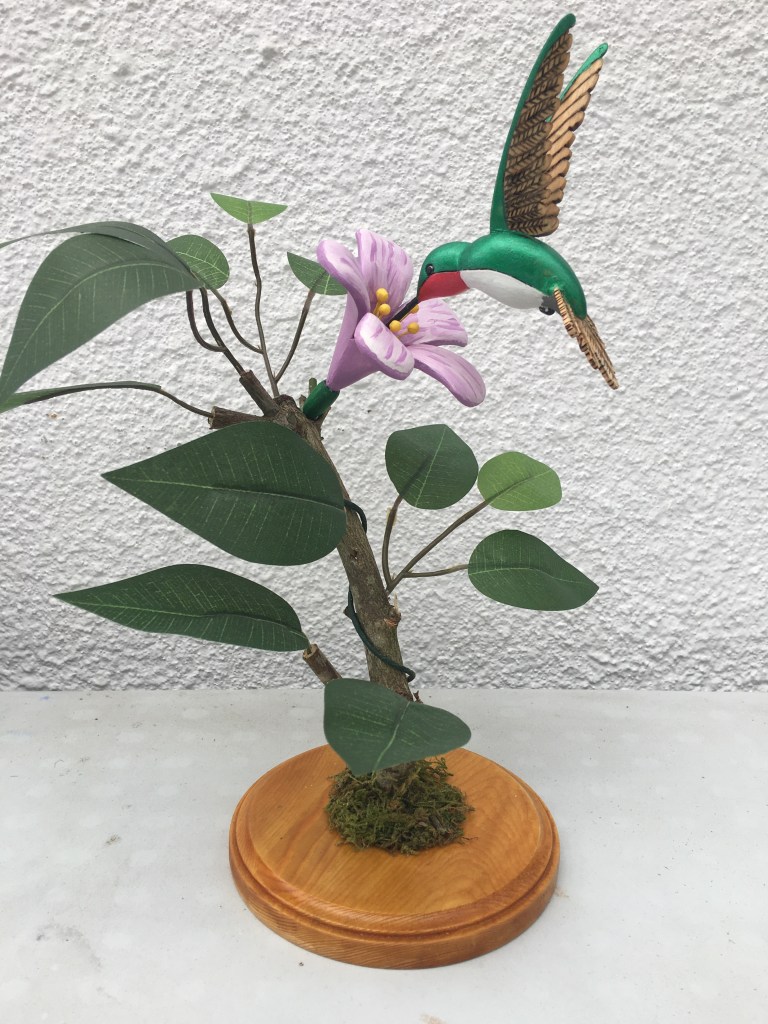
Your hummingbirds are both very well done too. You did a great job on the carving and painting, and the way you put the habitat together makes everything look very realistic. My concern is with the wings and tails here. Go with a lower setting on your wood burner so your lines are not so dark. Also, some of the areas appear to have no wood burning detail where there should be some, which makes the carving look incomplete. The tail feathers on the second hummingbird are too thick at the ends. Next time, thin the very edges down so that they look more like real feathers. And lastly, the tails and wing tips are not painted. I’m sure you did that intentionally, but next time I would paint them which will cover up the darkness of your burn marks and make the carving look more realistic.
Photo Shop

“Photo Shop” is the section of Wood Chip Chatter where carvers can send in photos of their wood carvings for display. It’s your chance to show off your work…sort of a show and tell. The photos will only be displayed and no comments or critiques will be made. For critiques on your carvings send them in to the “Carver’s Corner.” Send your photos to carverbobk@woodchipchatter.com.
Our first entry to the “Photo Shop” this week comes from John Brian who carved a series of soldier busts depicting the various uniforms worn during different periods over the ages. John writes:
“This is something I’ve been wanting to do for a long time. It represents the different periods of Army uniforms – Revolutionary War, Civil War, Cavalry, WW1, WW2 and today.
John Brian”
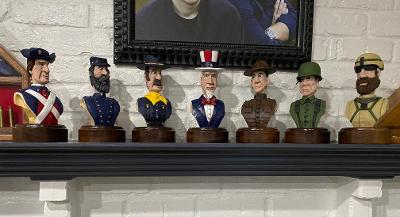
Those are excellent carvings, John, and that’s a terrific idea you had. You really challenged yourself by taking on a project like that. I’m sure everyone will appreciate seeing these different period uniforms you carved. Thanks again for the photos!
Our next entries come from my good friend, Tony Harris from Tennessee. Tony kept busy doing a little carving on the beach (one of my favorite places to carve) while on vacation. Tony writes:
“Here is a couple carvings worked on while on vacation at Panama City Beach. Gunslinger was a Phil Bishop roughout, golfer is a Mark Akers roughout. I wasn’t sure of which one to send, so I sent both. Lol”
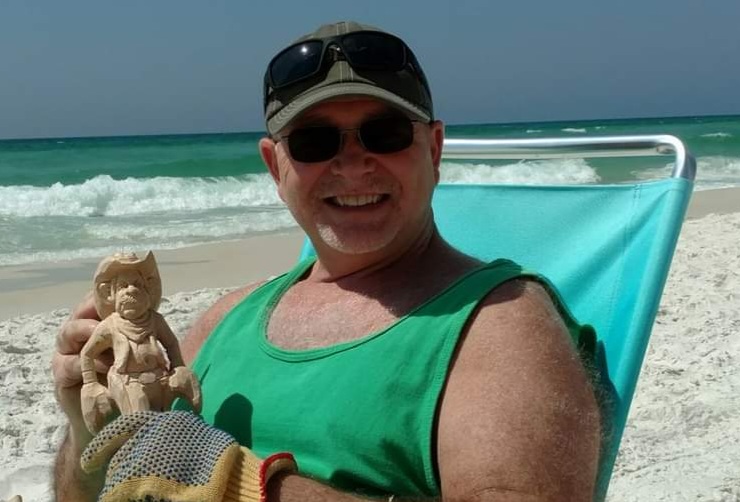
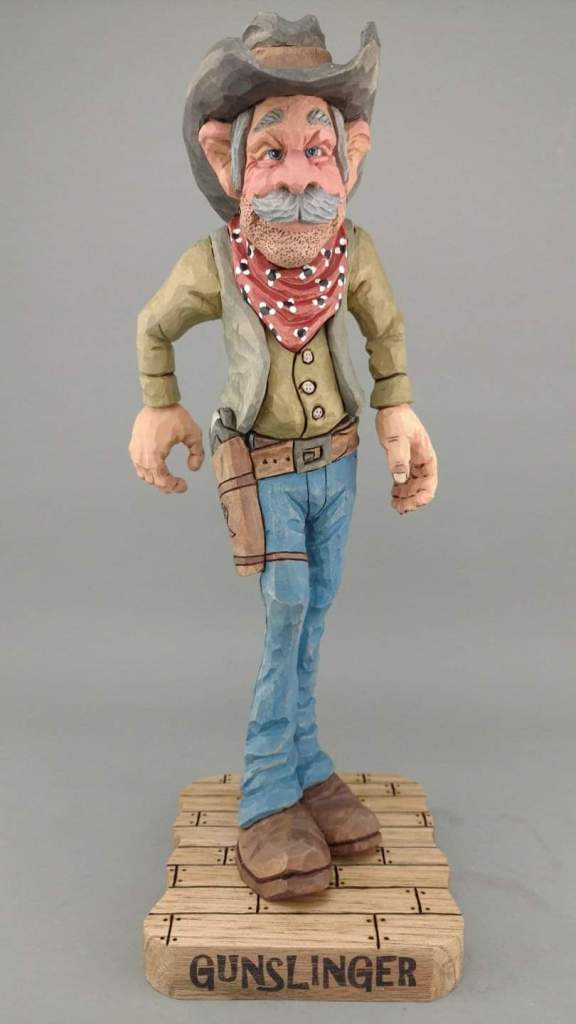

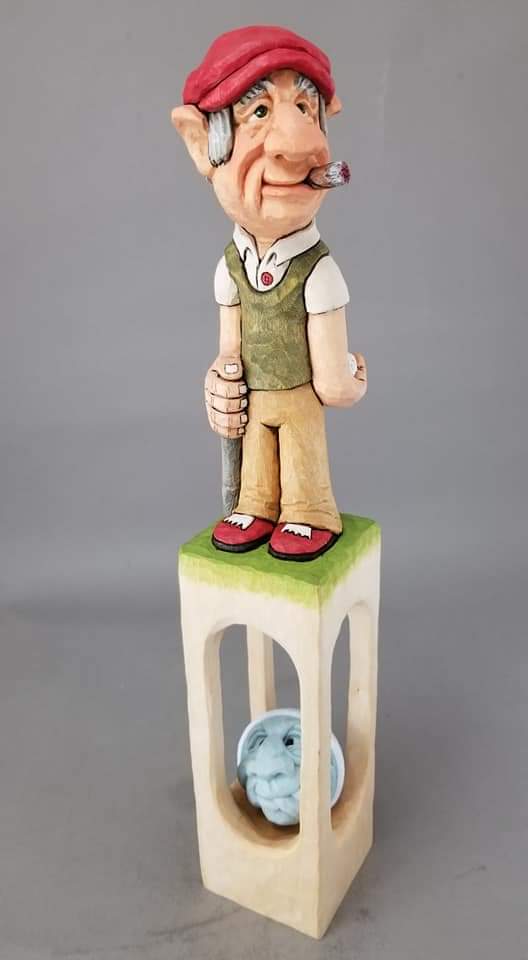


Thanks for the photos, Tony! What a beautiful place to carve. You look nice and relaxed. The carvings are incredible. I’ve been wanting to carve one of those golfers with the golf ball inside for a while. Carving the golf ball was such a cool idea.
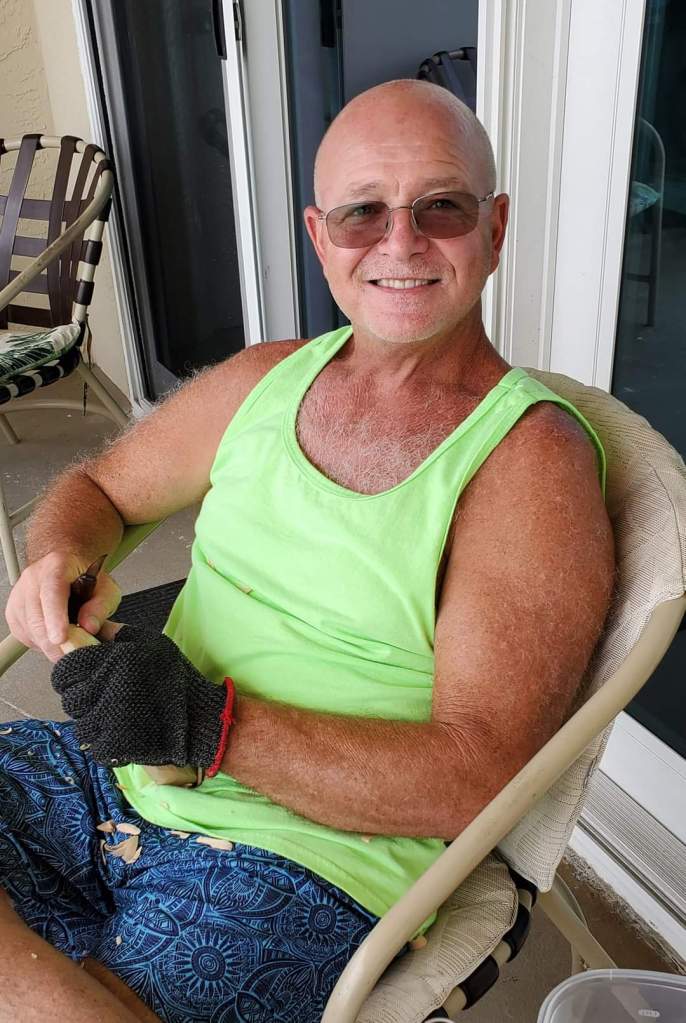
“Here’s one my wife liked of me carving on the balcony of our condo. I was working on an ornament. =] “
News & Announcements

The International Association of Woodcarvers has upcoming Zoom meetings on the following Saturdays at 3PM EST with special guest presenters. Check them out…
Zoom: 310-460-3575
NOTE: During the months of July and August meetings will be held only once per month…
Schedule
7/23 – Guy Nelson
8/20 – Malcom Sharp – Twisted Sticks
INTERNATIONAL ASSOCIATION OF WOODCARVERS
COME JOIN US!!!
The Jersey Hills Wood Carvers (JHWC) club is a small but growing group of wood carvers sharing their time, knowledge and joy of woodcarving. The JHWC generally meets from 7:00 pm to 9:00 pm on the 1st, 3rd and 5th Thursday of each month (when school is in session) at the Jefferson Township High School wood shop classroom.
Membership is “FREE” and open to anyone interested in woodcarving regardless of their ability.
JHWC’s Upcoming Meetings and Events
Sept. 15th, 29th
Oct. 6th, 20th
Nov. 3rd, 17th
Dec, 1st, 15th
For more information contact:
Al Santucci alsantucci4@gmail.com President
Bill Brunner billbrunnerdesign@gmail.com newsletter/website editor
Or visit:
Website: https://www.jerseyhillswoodcarver.com/
Facebook: https://www.facebook.com/groups/736479646821641/
Funny Bone


Bob, I own a copy of Pete LeClair’s book and I agree with you that it is an excellent book! I am an avid follower of Lynn Doughty and have always had a difficult time carving ears the way he does. Pete’s method resolved that weakness for me!! There are a few photos in his book that are a little hard to decipher as to what he is describing but overall I am very happy with my purchase. I recommend it highly!
LikeLike
Thanks for your input, Bill. I agree. Some photos in books are not always clear. Fortunately, most of what Pete’s content is generally clear and understandable. Pete also has two other books that are both excellent which I plan to review down the road.
LikeLike